Ins and Outs of Mountain Bike Time Trialing

October 15th, 2019 by JoAnn Cranson

By Jared Dunham

When you think of time trial racing, mountain bikes don’t usually come to mind, but occasionally you can get a race that combines the two. Time trials are the testing of the athlete against the clock, not other competitors. In a time trial race participants are sent off onto the race course one at a time with small gaps between each other. Each racer is timed individually and whoever finishes with the fastest time is the winner. While at there core, Road and Mountain Bike time trails follow the same formula, there are some differences compared to the MTB version.

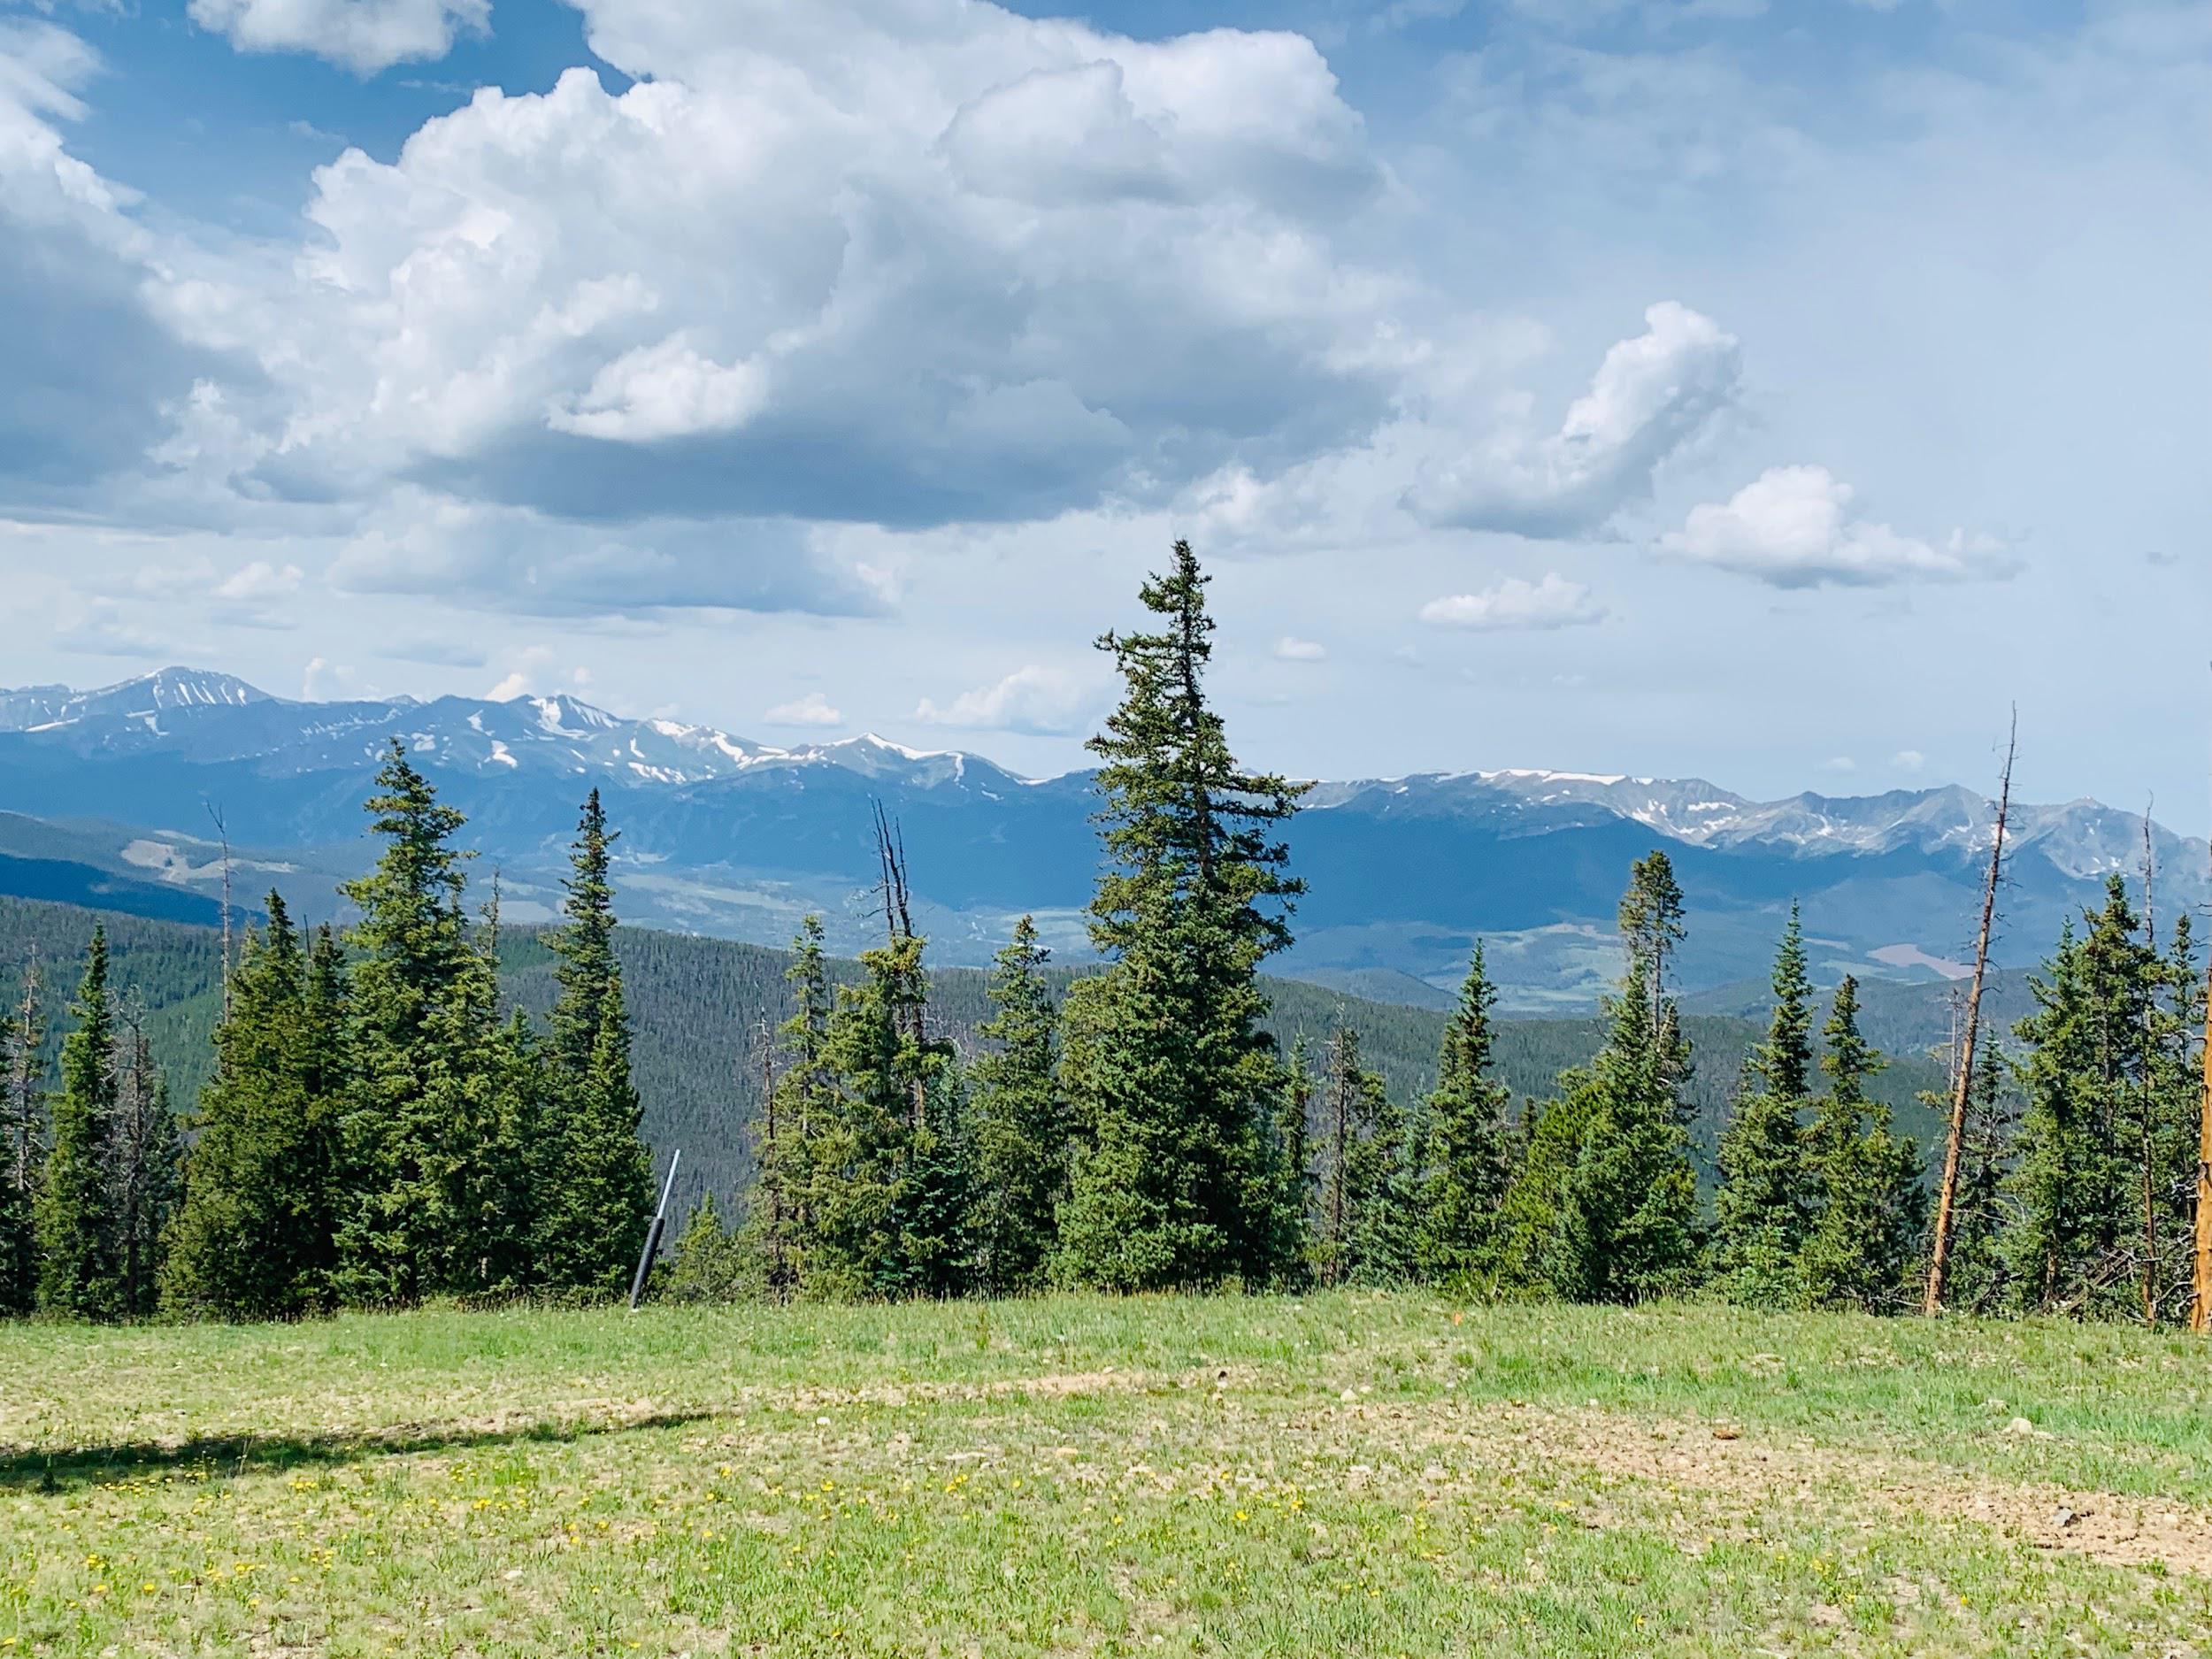
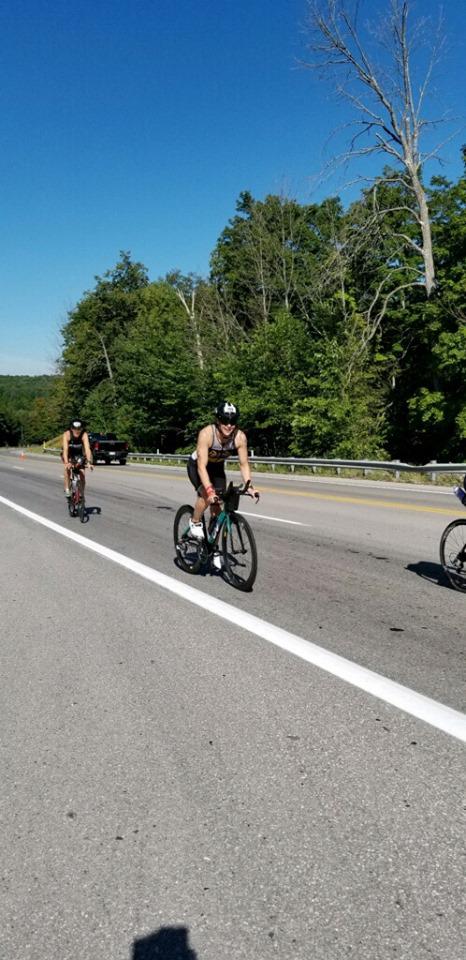
The mountain bike time trials I’ve raced at are: Yankee Springs TT, Custer’s Last Stand, Luton Park TT, and M66 TT. These time trial races typically are on shorter distance courses (totaling 6 to 16 miles) and more about an all-out sprint than a long-distance ride. The races I’ve done had laps that are 6 to 8 miles with Beginner/Sport doing one lap and Expert/Elite completing two. Generally, the gap between racers seems to be 30 seconds across the board. These 30 seconds don’t seem like a lot in the grand scheme of things, however they can make a real difference if competition is tight or if the trail is particularly technical.

Benefits

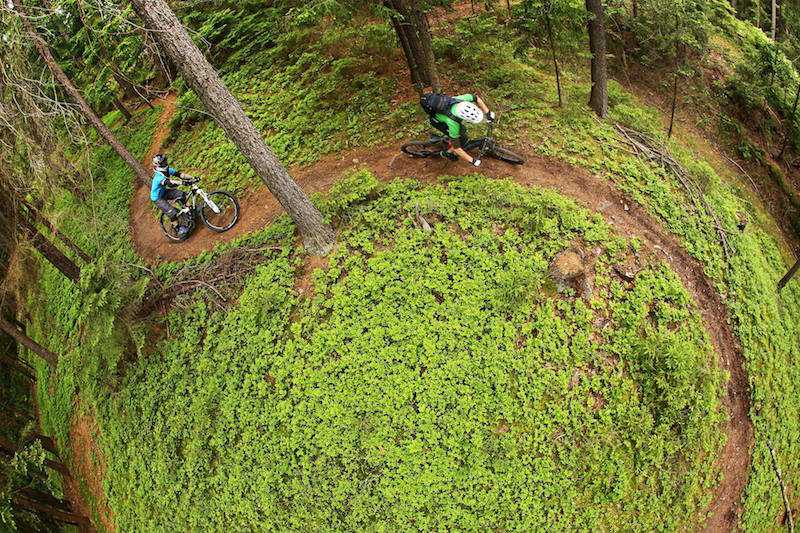
A major benefit to racing in this style is having the ability to host a race on trails that wouldn’t be able to handle a racing event otherwise. Some trails simply don’t have the room or positioning to host a mass start, or the path is too tight for racers to be jostling for placement on. Essentially the time trial can eliminate issues with racers trying to pass each other and going over the handlebars because the trail isn’t wide enough to ride side by side on. In my opinion, this makes it a safer race: everybody might still sprint to the finish line but at least there won’t be groups wrecking because of one misplaced pedal stroke!

Pacing

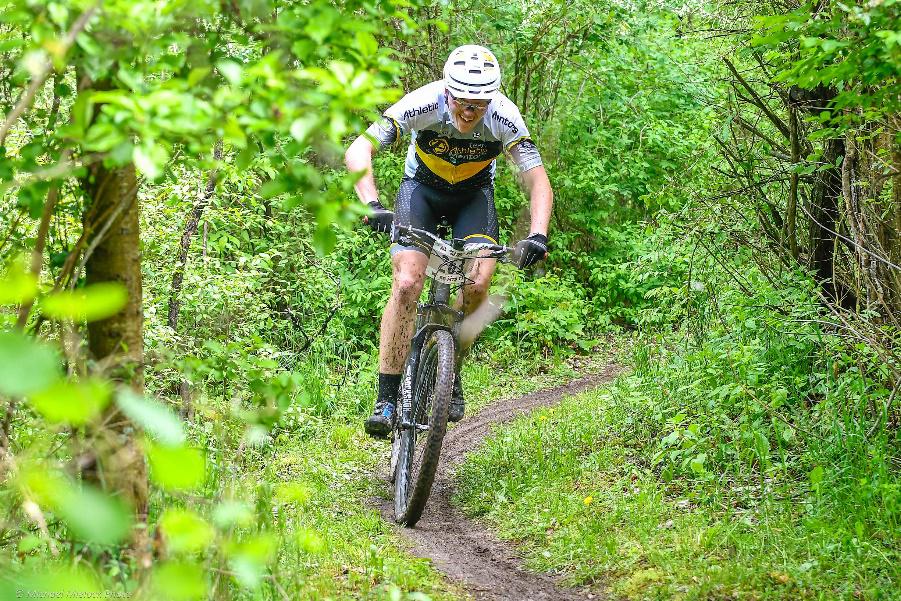
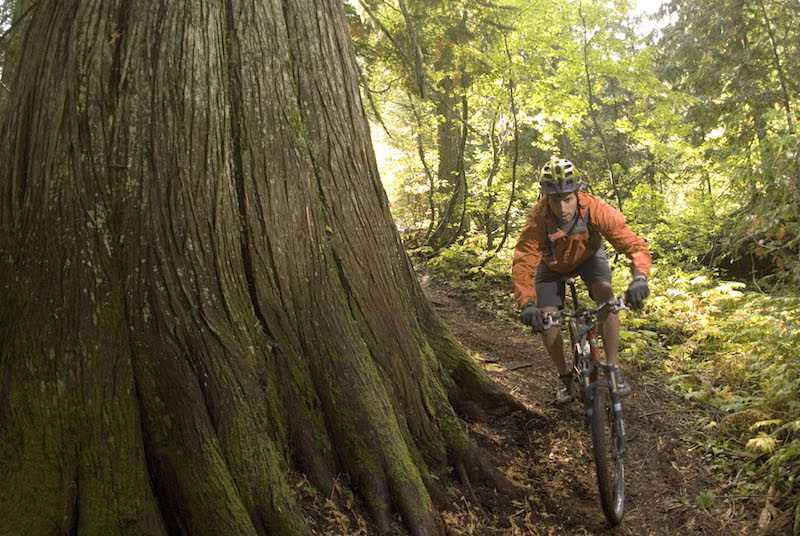
Pacing for these events is a little different from your typical mountain bike race. Not only is the race shorter but you can’t be sure how far ahead or behind you really are from everyone else, so the only thing you can do is leave it all out there! Since these races feature trails that are more technical or tight, naturally there are parts of the course where you won’t be able to put the pedal to the metal and must focus on simply navigating the trail. When I race these events, I’m putting in hard efforts for most of the race and am able to rest to some degree in the more technical sections.

Other Tips

Apart from all this I highly recommend doing a recon of the race course a few days before or a warm-up lap on it the day of. On these types of races you can typically get the edge by knowing it a little better. There will always be someone out there that is as familiar with the trail system as they are with the back of their hand so it’s important to do all you can do to tip the odds slightly in your favor. If you believe that your race will take less than 90 minutes, then you might consider staying hydrated and not taking any fluids with you while racing. I find that at these races I don’t have time to take in hydration or gels because of how short and intense they are. Every time trial I brought a water bottle, I barely used it so that water bottle could only be added weight. Also, I won’t bring tools out with me for these races. It’s more weight and the margin for error is so small that if you get a flat there’s no way you’re going to get a decent finish time when compared to the rest of the field. Lastly, for these races generally those who register the earliest get the best starting positions in the race so in this case the early bird could get the win!

If you’re interested in other endurance based mountain biking disciplines then consider looking up some Short Track, Marathon, or Ultra Endurance events, but these are a discussion for another day. Personally, I still prefer the traditional style of XC races with short, multiple laps and technical courses. But I think that a Time Trial race can add a special kind of flair to an otherwise normal race.


The post Ins and Outs of Mountain Bike Time Trialing appeared first on Team Athletic Mentors.


Just TRI Being Part of a Relay Team

October 13th, 2019 by JoAnn Cranson

By:  Jacob Florey

Whether you are a runner, cyclist, swimmer or all of these, you can do your part on a triathlon relay team.  What better way to learn more about Triathlons.

In the process of deciding to assemble a relay team or if you are invited to be a part of a team, keep in mind the type of people you are racing with.  You want this to be fun!  You should be with people you enjoy being with.  Is your team super competitive or just doing this for fun?  You need to have the same mindset going in to avoid stress and disappointment.

How do you train for a relay?  Do you keep normal training?  Or if you normally do triathlons as an individual, do you focus your training on that one discipline?   For Michigan Titanium I focused on swim and that’s all. I really do believe it paid off.

Relays are a great way to focus on your best discipline, if you are on a really competitive team. But it’s also a way to focus on your weakest discipline, if your other teammates just want to do the relay for fun.  It is a great way to improve your discipline. You can focus on form and speed because you have more training time.

If you don’t change your training for a relay, that’s fine. There are reasons for not changing. For example you could have other races after or soon before the relay. Or it is just the start of your season and you are just getting back into things. But if it’s the end of the season or no races coming up, why not focus on just one discipline.

Once it comes to the relay it’s so fun. Typically you are much faster in that part of the event. You don’t need to conserve energy. You can just go all out. Then you can just relax and cheer on your team and it’s a great time!

This is a great way to get a closer relationship with teammates or enjoy time with family members or introduce a new person to the sport of Triathlons. Lastly don’t sweat it, relays are a fun and great experience.

The post Just TRI Being Part of a Relay Team appeared first on Team Athletic Mentors.


41 Reasons to Trail Run

October 4th, 2019 by JoAnn Cranson

By: Erin Young

Runners, just like everyone else, are often set in their ways.  We like the shoe brand that we have been wearing for years and will never switch.  We have our favorite routes, which we run religiously at least 3 times a week. And we are hesitant to leave the comfort of the road to try out something new, like trail running.

We have excuses like, It’s too hard on your body, I’ll get lost, It’s dangerous, the monsters in the woods will eat me… Well, I’m writing this to let you know that is is actually less stressful on your body, you can run out and back to avoid getting lost or download one of the nifty apps (Alltrails) for your phone, and I promise you that people are more dangerous than wildlife… and monsters.

I left the road years ago. Occasionally I have to run a little road to get to the dirt, but the road is much less adventurous to me after the years spent on trail. I love helping others find the adventure and beauty of the trails. It has made me a stronger runner, physically and mentally. But here are 41 other reasons to run trail as soon as tomorrow…

1)  You won’t find traffic lights on the trail.  There is nothing worse than stopping every block to wait for the light to change.  Avoid those pesky lights all together by hitting the trails.

2)  Wildlife on the road usually comes in the form of roadkill, but on the trail, you are one with nature and all the wildlife that comes with it. But remember they are more afraid of you than you are them!

3)  Trail running is easier on the knees than pounding the pavement.  The more giving trail will help prevent injury to knees and joints.

4)  Trail running strengthens ankles, also helping to strengthen the muscles that support your feet and legs.

5)  You aren’t going to get hit by a car on the trail, so while other dangers might be of concern, traffic most certainly is not.

6)  Balance is a big issue for many of us.  When trail running we are forced to adjust our balance with every stride.  Over time that practice will improve our balance which helps us not only in the present, but as we age.

7)  It is hard to get bored on a run, when you are constantly paying attention to your footing and your surroundings are so beautiful.

8) Trail running lets you experience the seasons in the rugged way nature intended.

9)  Roads are designed so that hills are not too steep or sudden.  Trails are not. You can run killer hill workouts on the trail that could never be done on the road.

10)  Some of the best running races in the world are run on trails.  By getting into trail running, you open yourself up to a whole new world of races both locally and elsewhere.

11)  By running the singletrack, you gain immediate membership into a new running subculture.  The trail running community is very friendly, I promise.

12)  If you want to run ultramarathons, you better start thinking about trail running.  Most ultras are run on trail.

13)  Trail running works a variety of  muscles in the legs and back, giving you a more well-rounded workout than running on smooth pavement.  This is important for strength and helps prevent injuries. 

14)  Trails can be found just about anywhere. Check out the AllTrails app for wherever you live and travel.

15)  Every new location provides a distinct trail experience.  The type, elevation, and views from one trail can be completely different than another.

16)  When running you can cover much more ground than hiking.  Turn that 5 mile day hike through the woods into a 10 mile trail run in the same amount of time!

17)  Nothing screams adventure like a trip deep into the wild wilderness.

18)  Slow trail running builds crazy amounts of muscle that road running just can’t do.  When you hit the roads after a few trail outings, you’ll notice that new strength speed.

19)  People, bikes, and strollers all crowd the sidewalks you are trying to run down.  Get away from the crowds by hitting the trail.

20)  Getting dirty is a lot of fun, and really easy to do when trail running. Think of it as being a kid again. 

21)  You can take a lot cooler pictures from a mountain peak or river bank than you can from a city sidewalk.

22)  Trail running can be turned into an entire vacation by camping out on the trail and running during the day. 

23)  Need a boost to your self-esteem?  Start telling people you are trail runner.  They will think you are a badass, trust me.

24)  Everyone likes to have an excuse to run slow.  You will naturally run slower on trails than the road, so now you don’t have to hide it!

25)  Training at a higher elevation makes running at low elevations easier.  Trails will often lead you up a mountain or along a ridge, providing great opportunities for running at elevation.

26)  When you read blogs like irunfar.com and atrailrunnersblog.com, you will relate.

27)  Being a trail runner doesn’t mean you can’t still be a road runner.

28)  You burn 10% more calories trail running than you do on regular road running.

29)  Many runners rank solitude as one of their favorite parts about running.  On the right trail, you will feel like you are the only person in the world. But there are often great opportunities to make life long trail friends!

30)  Trail hills can be tough, but no one in the trail running community cares if you throw your hands on your knees and power-hike your way up the hill.  In fact, it is expected!

31)  Trying out a new sport means trying out cool new gear!

32)  It is really easy to get lost when trail running (in your thoughts, hopefully not on the trail). And in my opinion, so what if you get lost on the trail. It might be the best adventure you’ve had in years. These days, it seems far more difficult to get lost than it is to find your way home.

33)  Adrenaline keeps a lot of runners going when they are tired.  By moving your run to a more extreme location (a trail), that adrenaline keeps pumping.

34)  When you need a rest, it’s a lot more pleasant to rest by a creek, under a tree, or on a mountain peak than on a street corner.

35)  You’ll begin to feel like a Tarahumara Indian. See Born to Run, required reading for all trail runners.

36)  It is easy to turn a short run into an all-day trek through the woods.  Switch between hiking and running if you want to spend more time on the trail.

37)  After following a few simple steps, even the indoorsman can feel prepared. There is nothing you’ll need that a handheld water bottle or hydration pack won’t carry.

38)  The softer surface will help keep your feet healthy as you break in those new minimalist kicks.

39)  Hikers think you are crazy, sexy, cool, when you speed by them.

40)  Right now you probably get weird looks when you break out the headlamp for early morning or late evening road runs.  No one out on the trail at that time of day/night would think twice about the glowing lantern coming from your forehead.

41)  Trail scars are impressive.

That might seem like a lot of reasons, and there are so many more.  If you ever need a guide, I’m your girl. Coaching endurance and trail runners is my favorite thing to do, besides running trails! erin@athleticmentors.com

The post 41 Reasons to Trail Run appeared first on Team Athletic Mentors.


Nerd Bomb: Rotational weight and the lies we have been fed for years

September 30th, 2019 by JoAnn Cranson

By:  Robert Munro

This short article will teach you what matters and what doesn’t when it comes to “Rotational Weight”.  Since the dawn of lightweight bike stuff, we have been fed the adage that lightweight bike parts will make you go faster and if that thing is spinning it matters a whole lot more than if it isn’t. Unfortunately, this is a gross oversimplification. If you can make it through this quick physics lesson you will know what is worth spending your hard-earned money on and what isn’t.

Let’s review why weight matters on flat land. When you are moving along the road you have kinetic energy (measured in joules if we are keeping it metric). In order to get up to that speed you had to apply more power (Watts) than the road and the wind were exerting against you. That power went into your kinetic energy. If kinetic energy did not exist then you would immediately accelerate up to your desired speed. Once you are up to speed and your kinetic energy is constant, weight doesn’t matter anymore.

There are 2 types of kinetic energy that we care about on the bike, translational and rotational (formula below).

Definition of Translational Kinetic energy in words: Intrinsic energy you and your gear have by moving across the earth. Notice that speed is squared. This is partly why you can accelerate 0-15 mph a lot faster than 15-30 mph. All the mass counts for this part.

Definition of Rotational Kinetic Energy in words: Intrinsic energy the spinning stuff has. You must put energy in just to spin it. Only the spinning mass counts.

When you travel down the road (or trail) your kinetic energy is a summation of both. Therefore:

This also means that spinning stuff counts twice!

Important side note: Translational kinetic energy is a lot larger than rotational.

Now let’s define Moment of Inertia: A quantity expressing a body’s tendency to resist angular (spinning) acceleration. The 2 parts of Moment of inertia are the weight of this object and how far it is from the center of rotation. In fact this distance is squared. See formula below. Therefore the radius becomes significantly more important as it grows as does the mass of the object.

This should be the part of the article where I calculate (and graph) the rotational kinetic energy of all spinning bike components at different speeds. I will spare you that level of boredom. Unless of course I get enough comments on facebook asking for it ;). What I will do is boil it down to make it simple.

Tires, tubes (or sealant), and rims matter;

shoes matter a little;

everything else is negligible.

Finally, let’s talk about going uphill. When going uphill your mass will pull you downward. The relationship is linear. The kicker is that gravitational force does not care if something is spinning. Furthermore, lets remember that kinetic energy only “holds you back” when you accelerate with respect to the ground. If you are slowing down (and hence using your kinetic energy to overcome air resistance and mechanical drag for a time) like you would if you are hitting the bottom of the climb going fast, then having more kinetic energy is actually helpful! Therefore, rotational weight is not more important while climbing.

Whew, you made it! That was a proper Nerd Bomb. But now you are smarter for it. Congratulations! Let me know in the comments if you agree or think I am letting the gel go to my head. Nerd out.

The post Nerd Bomb: Rotational weight and the lies we have been fed for years appeared first on Team Athletic Mentors.


Kickr “Climb” – Adjusting Difficulty Setting

September 24th, 2019 by JoAnn Cranson

By:  Todd Anthes

The subject of a prior blog discussed the benefits of the Wahoo Kickr Climb (the “Climb”) as aiding in the recovery of my back injury.  In short, the Climb adjusts to the gradient of a virtual hill by replacing your front wheel in a trainer setting. The default trainer difficulty setting of the Climb is 50% of the actual grade of the virtual hill.  I think the intent is to not have the device working more than necessary and to smooth out the virtual experience/ride. 

I primarily ride the Climb on Zwift.  All of the Zwift worlds have climbs of varying gradients.  The theory of the trainer difficulty setting is that a lower slope setting will reduce shifting and allow a rider to put more power out on the descents.  And while this makes sense to me, I fail to see why a rider wouldn’t want the actual slope setting. I didn’t give this much thought and was happy to have the forced position change which I think helps my back. 

When I start with new technology, I usually run everything “standard” until I am comfortable with it.  I am now comfortable with the Climb and have started to experiment with the trainer difficulty setting. I fail to see why a rider wouldn’t want the Climb to not simulate the actual slope regardless of trainer difficulty. And as previously mentioned, the two biggest selling points of the Climb for me are the reminder of the ergonomic simulation of body and bike position on gradients and increased rider feel for the indoor effort. 

am still playing with the trainer difficulty setting on my virtual rides, but this article (https://zwiftinsider.com/kickr-climb-trainer-difficulty/) has been essential in my experience with such settings. For example, I have a recurring workout that requires repeats of six minutes climbs at a specific power.  Given that I don’t have a six-minute climb near where I live, I often do this workout on my trainer.  I have been playing with the trainer difficulty setting on the Climb and it has positive impact on the workout. 

The jury is still out for me on what is the “best” trainer difficultly setting, but the referenced article is a great way to increase the viability of your trainer session. 

The post Kickr “Climb” – Adjusting Difficulty Setting appeared first on Team Athletic Mentors.


Six Mechanical Things to Check When Buying a Used Bike

September 20th, 2019 by JoAnn Cranson

By: Robert Munro

There are a lot of things to consider when buying a used bike. Fit and specs are undoubtedly important. However, this is a quick guide on what Mechanical Things to check for when buying a used bike. It is not a deal breaker if you find that one or more of these things is not up to your standard. What is important to realize is that these wear items cost money to rectify. You don’t want to spend $400 on a sweet new ride, only to have to take it to the shop for an equally expensive bill for maintenance and parts. Therefore, I have also included a rough estimate of what it cost to replace the part yourself and what it might cost at a shop (Don’t come crying to me when you have to pay $30 for a chain instead of $25, this is just an estimate).Chain ($25 DIY/$45 shop)

1. Making sure the chain is in good condition is important because it is indicative of other problems. Look for signs of rust. Mild rust can usually be cleared up with a healthy dose of lubricant but any more than that and I would replace it. See if the chain is especially grimy. Again, this one is usually not a bad deal but an exceptionally dirty chain can wear through a cassette quickly. Finally, use a chain checker to see if it is stretched (~$11 on the internet or ask a friend if you can borrow theirs). If any of these problems are severe, pay close attention to the next one.                                                                         

2. Cassette and Chain Rings (Cassette ($50 DIY/$80 shop), Chain rings ($150 DIY/$200 shop)!!!)

These get expensive fast! Don’t ask me why (look at your chain rings). Look for gouging on the “load” side of the teeth. This is the side that the chain makes hard contact with. Worn down teeth will impair shifting and even cause you to skip gears. (Not fun when sprinting out of the saddle).

3. Tires ($100 DIY/$120 shop)

Look for a little indicator hole to show wear (for road). Look for squaring of the top of the profile. Finally, look for tiny cuts in the tread and sidewall. Good tires drastically improve your ride. In my opinion it is some of the best dollars spent on a bike. Don’t overlook it.

4. Cables/Housing ($25 DIY/$85 shop)

Pull both brakes and shift the bike when it is off the ground. Really pay attention to how easily the gears shift and the brakes feel. Also look at the exterior of the housing and where is enters and exits the frame. Cuts and fraying can be indicative of a poor running system.

5. Bar tape ($20 DIY/$40 shop)

One of the three contact points on the bike. There is no reason to neglect it. Don’t ride with old tape!!

6. Rotating stuff (bottom brackets and wheel hubs) ($Depends$)

Spin the cranks and wheels slowly to check for any grinding. You can also feel for this during your test ride. The other way to look for damage is to forcefully try to move the wheel or crank “Outward”. For the wheels, grab the top of the rim with one hand and the frame with the other. Then pull the wheel towards the frame. If you can wobble the wheel significantly on the bike, then the hubs may need an adjustment or replacement. All wheels will pull a little bit but if it pulls more than 1 cm (3/8”) then you may want to be concerned. The cranks can be tested in much the same way. Any movement sideways here is bad.

Some final thoughts:

First: TAKE YOUR TIME!! Don’t be in a rush. Check these things over slowly. Signs of damage often don’t pop out quickly. Look at every tooth, every inch of tire, and every link of chain. The seller won’t mind (assuming there is nothing to hide).

Second: Be respectful. Don’t berate the bike (or for goodness sake the seller). You may likely see this person again. The cycling community is small. The things you found are discussion points not evidence in a crime. These things will help with negotiations, but the seller does not have to adjust the price.

Happy Hunting!

The post Six Mechanical Things to Check When Buying a Used Bike appeared first on Team Athletic Mentors.


The Kickr “Climb” Helped My Recovery

September 16th, 2019 by JoAnn Cranson
By Todd Anthes I’m still recovering from a back injury and have had to examine a number of factors to help me get back on track and not exacerbate the injury while riding.  Oddly enough, one of items that has assisted is the Wahoo Kickr Climb (the “Climb”).  The Climb pairs with a Wahoo smart trainer (in place of your front wheel) and changes the gradient in conjunction with the hills on your virtual ride.  The default setting of the Climb is 50% of the actual gradient of the virtual hill. You can set the ratio to 1:1 (or another ratio), but this will be the subject of an entire blog itself.  After my injury I spent a lot of time on the trainer as I could control my environment. Put another way, I couldn’t fall and risk injury. However, one of the negative factors of spending a lot of time on the trainer is that I didn’t change my position much. As I would get bored on the trainer I would tend to slouch. This puts my back in a compromised position and certainly does not help in my recovery. You can read more here on getting help with injury related cases. It is no brainer that injuries can also take place due to accidents and it is best to hire experts In Riverside area based auto accident lawyers, in case you want legal assistance with the accident cases. In addition to a new fit, changing my saddle, and working on not slouching, the Climb was something I was very interested in trying as I thought it would force position changes on my saddle. The theory being that forcing a change in my position would not drivmyself into dysfunction.    I used the Climb for my entire 2018-2019 winter season, including many rides of 3 hours or more.  I’m pleased to report that the device has met its intended purpose. As the Climb adjusts to the gradient of the virtual hills, my position on the saddle also is forced to adjust. When the Climb adjusts to the gradient, it is also a great reminder to check my form. When it comes to accidents and other injuries, know what to do after an auto accident injury or the right kind of lawyer to hire for your case. I wholeheartedly endorse the Climb as a tool to enhance your training experience, as well as making longer trainer rides more tolerable. The forced change of your position on the saddle replicates the outdoor experience to a certain degree and can also serve as a reminder to pay attention to your form.   The post The Kickr “Climb” Helped My Recovery appeared first on Team Athletic Mentors.

Steelhead 70.3 vs Traverse City 70.3

September 13th, 2019 by JoAnn Cranson

By Dawn Hinz

Many athletes were excited when Ironman announced the Inaugural Half Iron Distance Triathlon in Traverse City. It’s a beautiful venue and popular tourist destination in Northern Michigan’s Lower Peninsula. However, Ironman already had a Half Iron Distance located in Michigan; Steelhead. Steelhead is held in the Southwest Corner of Michigan’s Lower Peninsula in Benton Harbor, Michigan. Steelhead is scheduled in late June and Traverse City is held in late August. How would these events be similar and how would they differ? Could an athlete do both?

Race Swim Swim Condition Bike Elevation Bike Road Condition Run Elevation Run Condition
Steelhead Lake Michigan Possibly Rough 1,306 Feet Good/

Some Hills

203 Feet Full Sun

3 Big Hills

Traverse City West Grand Traverse Bay More likely calm 2,455 Feet Nearly Perfect/ Very Hilly 314 Feet Partly Shaded

STEELHEAD SWIM EXIT

The SWIM-

Steelhead starts from the sandy beach of Jean Klock Park into Lake Michigan. Lake Michigan is one of the Great Lakes and shares more similarities with an ocean or the sea than it does an inland lake. Which means the swim can be unpredictable. It can be smooth or choppy. Sometimes the swim is cancelled due to large waves and strong currents. Then you run across the beach into transition.

Traverse City starts from Open Space Park into West Grand Traverse Bay. The Bay is actually a part of Lake Michigan. This means it could still be choppy but it is protected by land on three sides. Which means it’s more likely to have calm waters. However this is not guaranteed and you should still prepare for an “ocean water type swim”. You swim out a few hundred meters and then turn east; straight into the rising sun. You swim past a marina and exit at Clinch Park where you then run through a tunnel into transition.

The BIKE-

Steelhead’s bike course changed this year due to road closures. It’s an open course mostly along Blue Star Highway with some back country roads. Roads surfaces were mostly favorable with minimal fresh chip seal and only a few potholes to avoid. This course has a few rolling hills with 1306 feet of elevation gain. It’s a fast bike.

Traverse City’s bike course starts through Downtown Traverse City out to Sleeping Bear Dunes up the iconic M-22 Highway and back M-72 Highway. One lane is closed to vehicles in the direction you’re cycling. The first few miles is uphill and will probably be your slowest split of the bike but it gets fun after that. With hill after hill this course is anything but boring. It has 2,455 feet of elevation. You’ll want to practice going downhill as much as you practice going uphill. At mile 53 you start a nearly two mile decent before it flattens out down Grandview Parkway with the Bay along your left.

The RUN-

At Steelhead you’ll run two loops of a lollipop course around the Whirlpool Corporate campus park. There is very little shade or breeze. In full sun it was hot. There’s three decent sized hills and a total of 203 feet of elevation gain. The last 2.5 miles are downhill to the finisher’s chute.

Traverse City takes you through downtown out to Boardman Lake where you run along a path of paved surface and crushed gravel. There is actually a lot of shade on this course. You return back to the town with the finish line in view where you turn around for your second loop. Surprisingly there’s more elevation here at 314 feet of gain but there are no big hills and the last couple miles are flat.

My teammate – Kathy Braginton running at Traverse City

SPECTATORS And Crowd Support (Because it’s not all about the athlete)

At Steelhead family, friends and spectators can enjoy a day at the beach while occasionally checking back in to cheer on their athlete. There’s also a playground to help keep the little ones entertained. With one transition location they can see your swim, bike, run and finish without leaving Jean Klock Park. There’s food for sale at the beach or multiple restaurants a short drive away if they feel like leaving. If they don’t mind walking or biking a short ways they can cheer you on multiple times during the run.

At Traverse City the start is about a quarter mile walk from transition but there are many points where they can watch the swim and cheer you on as you leave the water. The crowd support as you start the bike and through the run was fantastic. There was a lot of energy and it helped keep athletes motivated. Spectators can find multiple restaurants to feast at while waiting for their athlete. Many children were entertained at a splash pad and park. Overall I feel spectators get to view more of the race in Traverse City but it was more crowded since this race sold out.


Teammates make racing anywhere more fun!

DECISION TIME-

Which race is right for you depends on your strengths, weaknesses and goals for your race day. I found more satisfaction at the finish line of Traverse City because it was a more challenging race but it was not a personal record. The faster of the two courses is Steelhead.

With two months between races you might not have to choose; you could do both.

The post Steelhead 70.3 vs Traverse City 70.3 appeared first on Team Athletic Mentors.


Thinking About Buying a Bike? Here are 5 Reasons you SHOULD!

September 7th, 2019 by JoAnn Cranson

By Erin Young

1.Cycling decreases stress

Do not underestimate the power of nature and green spaces to change your mood and general health. The environment around you has a huge impact on how you perceive the world and how you feel on any given day. In the midst of the hustle and bustle of the city, you may feel overwhelmed, stressed and hurried. Once you hit the trails, and immerse yourself in a forest or natural landscape, studies have shown that stress levels are reduced, blood pressure decreases and your overall well-being increases. Don’t believe it? Compare your body’s reaction when biking in the city vs. biking through the forest.

2. Biking is easy on your joints

If you have bad knees or hips, biking can offer great exercise, while having minimal impact on your joints. Running can often be a difficult sport to start and some of us may have past injuries that make it hard on the body, but biking is much easier on your body.

3. Mountain Biking encourages you to live in the moment

Mountain bikers are great yogis. It’s hard to think about anything else but biking when you’re hopping over logs, riding through streams and around tight corners with trees on either side. You have to be focused on riding, be in the moment to avoid injuries and get the most out of the experience. You will forget about doing your taxes, your annoying boss or recent troubles – and instead, release loads of happy endorphins that will have you smiling from ear to ear.

4. Biking makes for a healthy heart

Biking will get your heart pumping. Steep climbs will challenge your cardiovascular strength and over time your heart will become stronger. The recovery period for those climbs will decrease and you will find it easier to accomplish longer and more challenging rides.

5. Biking encourages social connections

I recently watched a TED Talk by Harvard researcher Robert Waldringer, entitled “What Makes a Good Life? Lessons From The Longest Study on Happiness” – want to know the secret to a good life? According to Robert’s study it’s high quality social relationships. The closer you are with friends and family, the happier you will be in the long run. So, what does this have to do with biking? EVERYTHING. Mountain biking encourages trailside chats with bike buddies and post-ride hang-outs to debrief the ride and talk about life. Biking brings people together, to teach each other new skills, learn from others and create memorable experiences in beautiful places.

Want to give group rides a try? Check out the Kalamazoo Bike Club. They have group ride locations and times listed on their website. Most cities have bicycle clubs that are warm and welcoming to all riding abilities, especially new cyclists. All you need are two wheels and a helmet! Visit Pedal in Kalamazoo for all of your cycling needs and Custer Cyclery if you are in the market for a mountain bike experience.


The post Thinking About Buying a Bike? Here are 5 Reasons you SHOULD! appeared first on Team Athletic Mentors.