
 Flat Tire Basics
Written by Ros Difalco
Nobody wants to think about the possibility of a flat tire while out enjoying time on their bicycle. In reality, if you are going to ride regularly, it’s really more a matter of “when” not “if” when it comes to flatting. So, when you do get a flat, you have a few options. First, you can annoy your friends and family and get a ride back to your house. Second, you can walk (from experience, probably not a great option!). Third is your best shot: FIX THE FLAT WHILE ON THE ROAD!
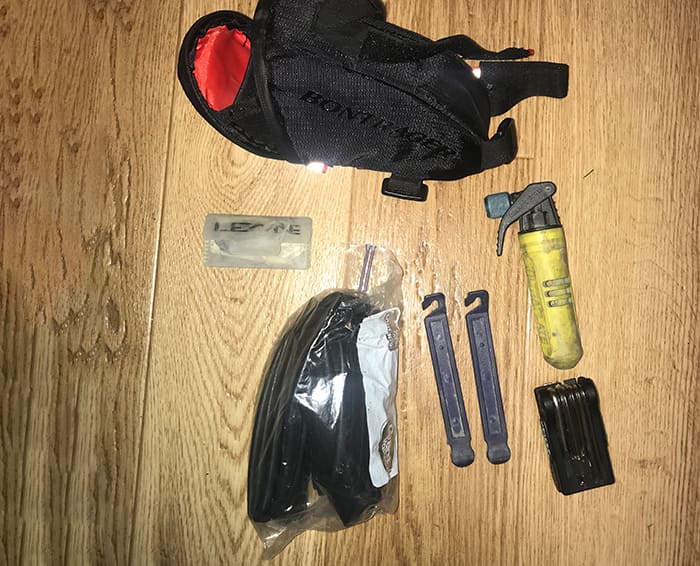
Let’s go over the things you should carry while riding to fix most flats. There are different ways people carry the necessities, but here are my recommendations.
First, carry a saddlebag. Many people like to stash their change kits in their jersey pockets, but I prefer the saddlebag. If I have to stock my back pockets each ride I am likely to forget something or leave something out due to laziness.
In your saddlebag you should carry a
- spare tube (the correct specifications to match your tire width, wheel diameter, and rim depth). I like to keep the spare tube wrapped up in a plastic bag to prevent it from getting holes while rubbing against tools.
- 1-2 tire levers. Not being able to get a tire on or off is extremely frustrating.
- C02 inflator (2 of these, just in case the first doesn’t go to plan).
- Multi-tool (though you don’t need it for the tire fix)
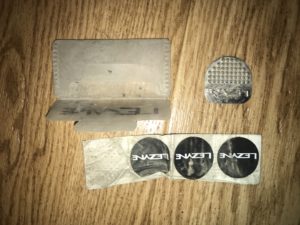
- Optional: There’s a new thing I have been adding to my saddlebags the last few years. A few brands make stickers to patch holes in tubes.
 DISCLAIMER: these should be used as a last resort if your spare tube is punctured or if you get a double flat (two flat tires in one ride).
Now let’s get on to your flat tire! In our hypothetical situation, you are riding down the road when you feel the tell tale squirmy/squishy ride characteristics of a flat tire. Now you might be tempted to keep riding but please don’t! Pull over somewhere off the road and check the tire for air pressure. You don’t want to damage your rim by riding with a flat tire.
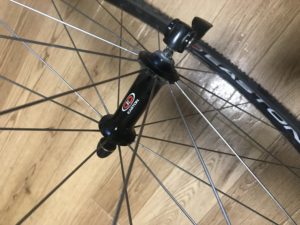
Fixing a flat tire requires that you remove your wheel from the bike. Most bikes have a quick release axle, but if your bike doesn’t, make sure to carry the tools to remove your wheel. You also need to know how to open up brake pads on many bikes to get the tire to fit but we won’t cover that topic here due to the various types of brakes.
Now that your wheel is removed, you need to make sure the tube is fully deflated. 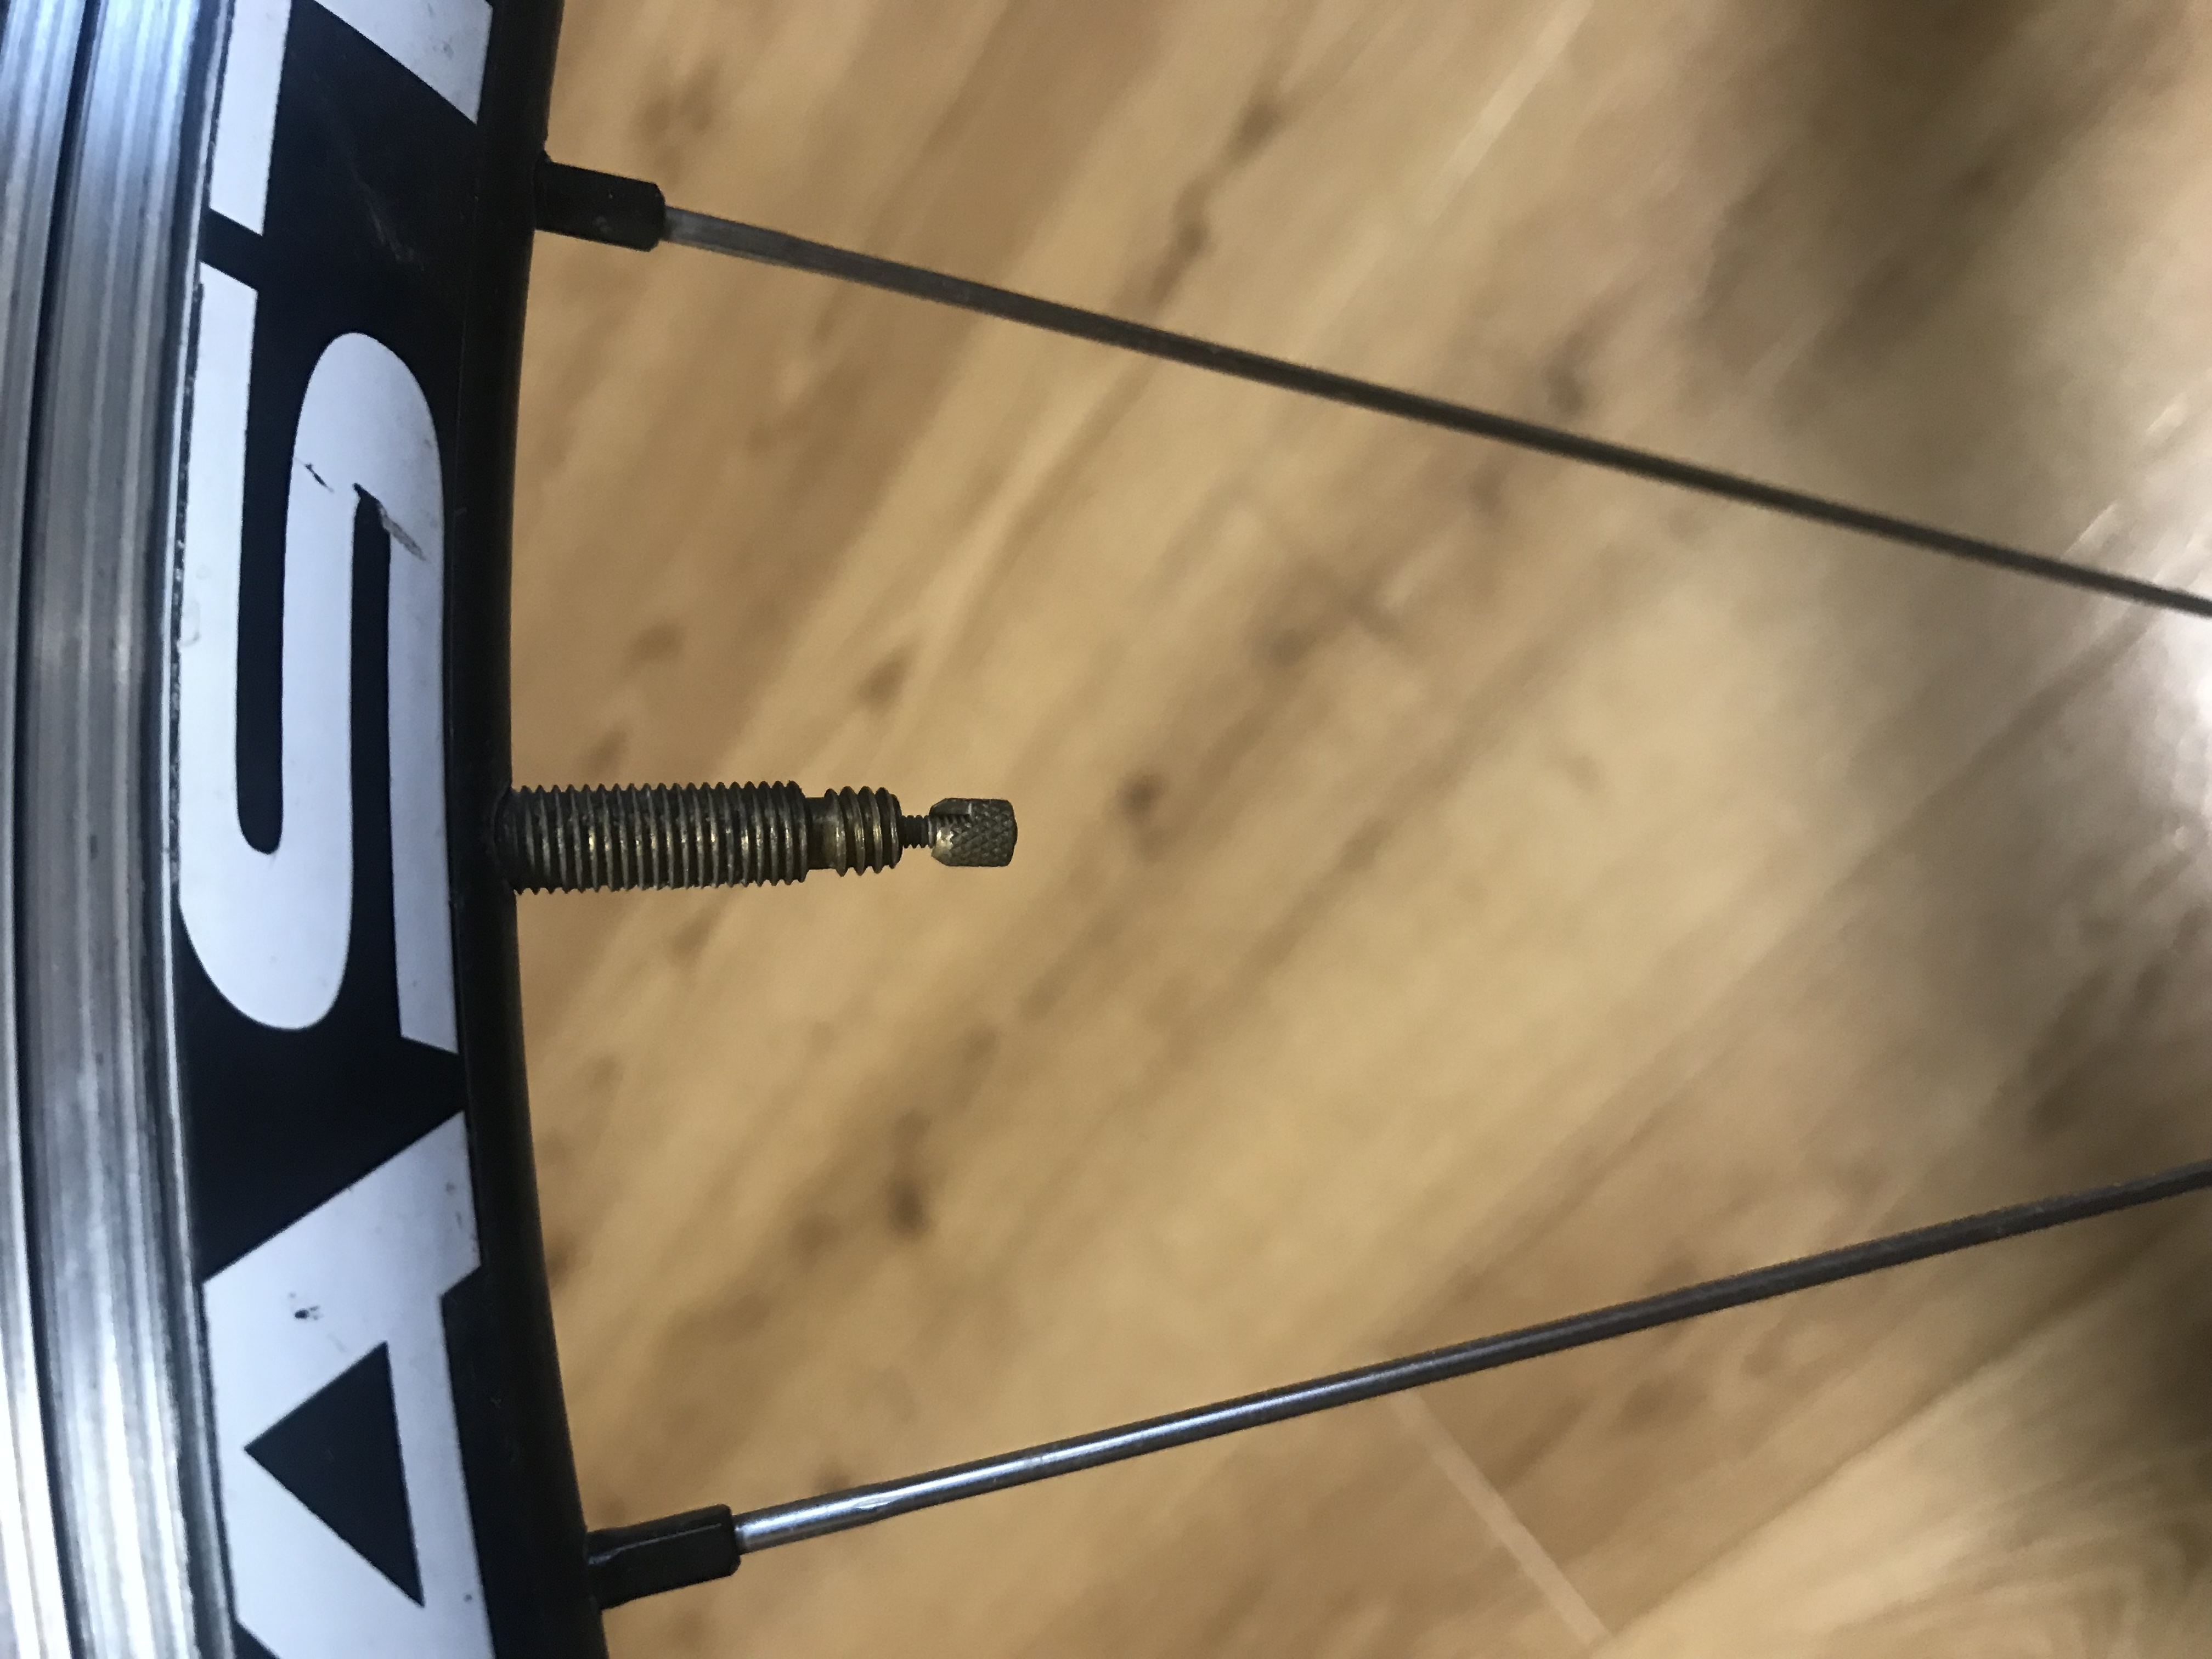 This is good time to explain that most bikes have both a tire and a tube. The tube is what holds the air in the tire. The tube is what we want to replace/patch. To get to the tube we must remove the tire. Tires may be stuck to the rim via the bead.
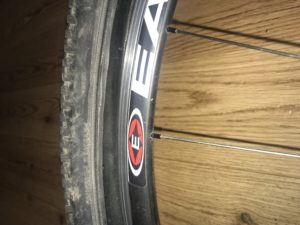
Using your hands, push the tire to the center of the rim bed. Do this all the way around the rim. Getting the tire to the center will give you the space to get the tire over the lip of the rim. Once the tire is moved to the center of the rim, get your tire levers. Pry the tire over the rim. Only pry one side of the tire off of the rim. Now you should be able to remove the tube from the rim.
Next, look at the tube and see if you can determine what punctured it. You also want to GENTLY run your fingers in the inside of the tire to make sure there aren’t any thorns or objects stuck in it. If you install your new tube with a thorn in your tire you will instantly get another flat. Now, unwrap your tube and put the valve through the valve hole on the rim and lay the tube around the diameter of the tire. We now have to get the tire back on without puncturing the tube. With your hands, work the tire back on the rim until can no longer go further. At this point, get your tire levers back out. You need to pry the tire the rest of the way on the rim. BE SUPER CARFUL NOT TO PINCH THE TUBE WHILE DOING THIS!
Now that the tire is back on the rim, it’s time to inflate it and get riding again. Tighten the C02 on the inflator to break the seal. Make sure the valve on the tube is open and press the inflator firmly against the valve and release the compressed air. It will feel very cold but do not let off until the C02 is empty. Your tire should now be full of air! Make sure to tighten the valve on the tube. At this point you can put your wheel back on your bike and tighten up your axle.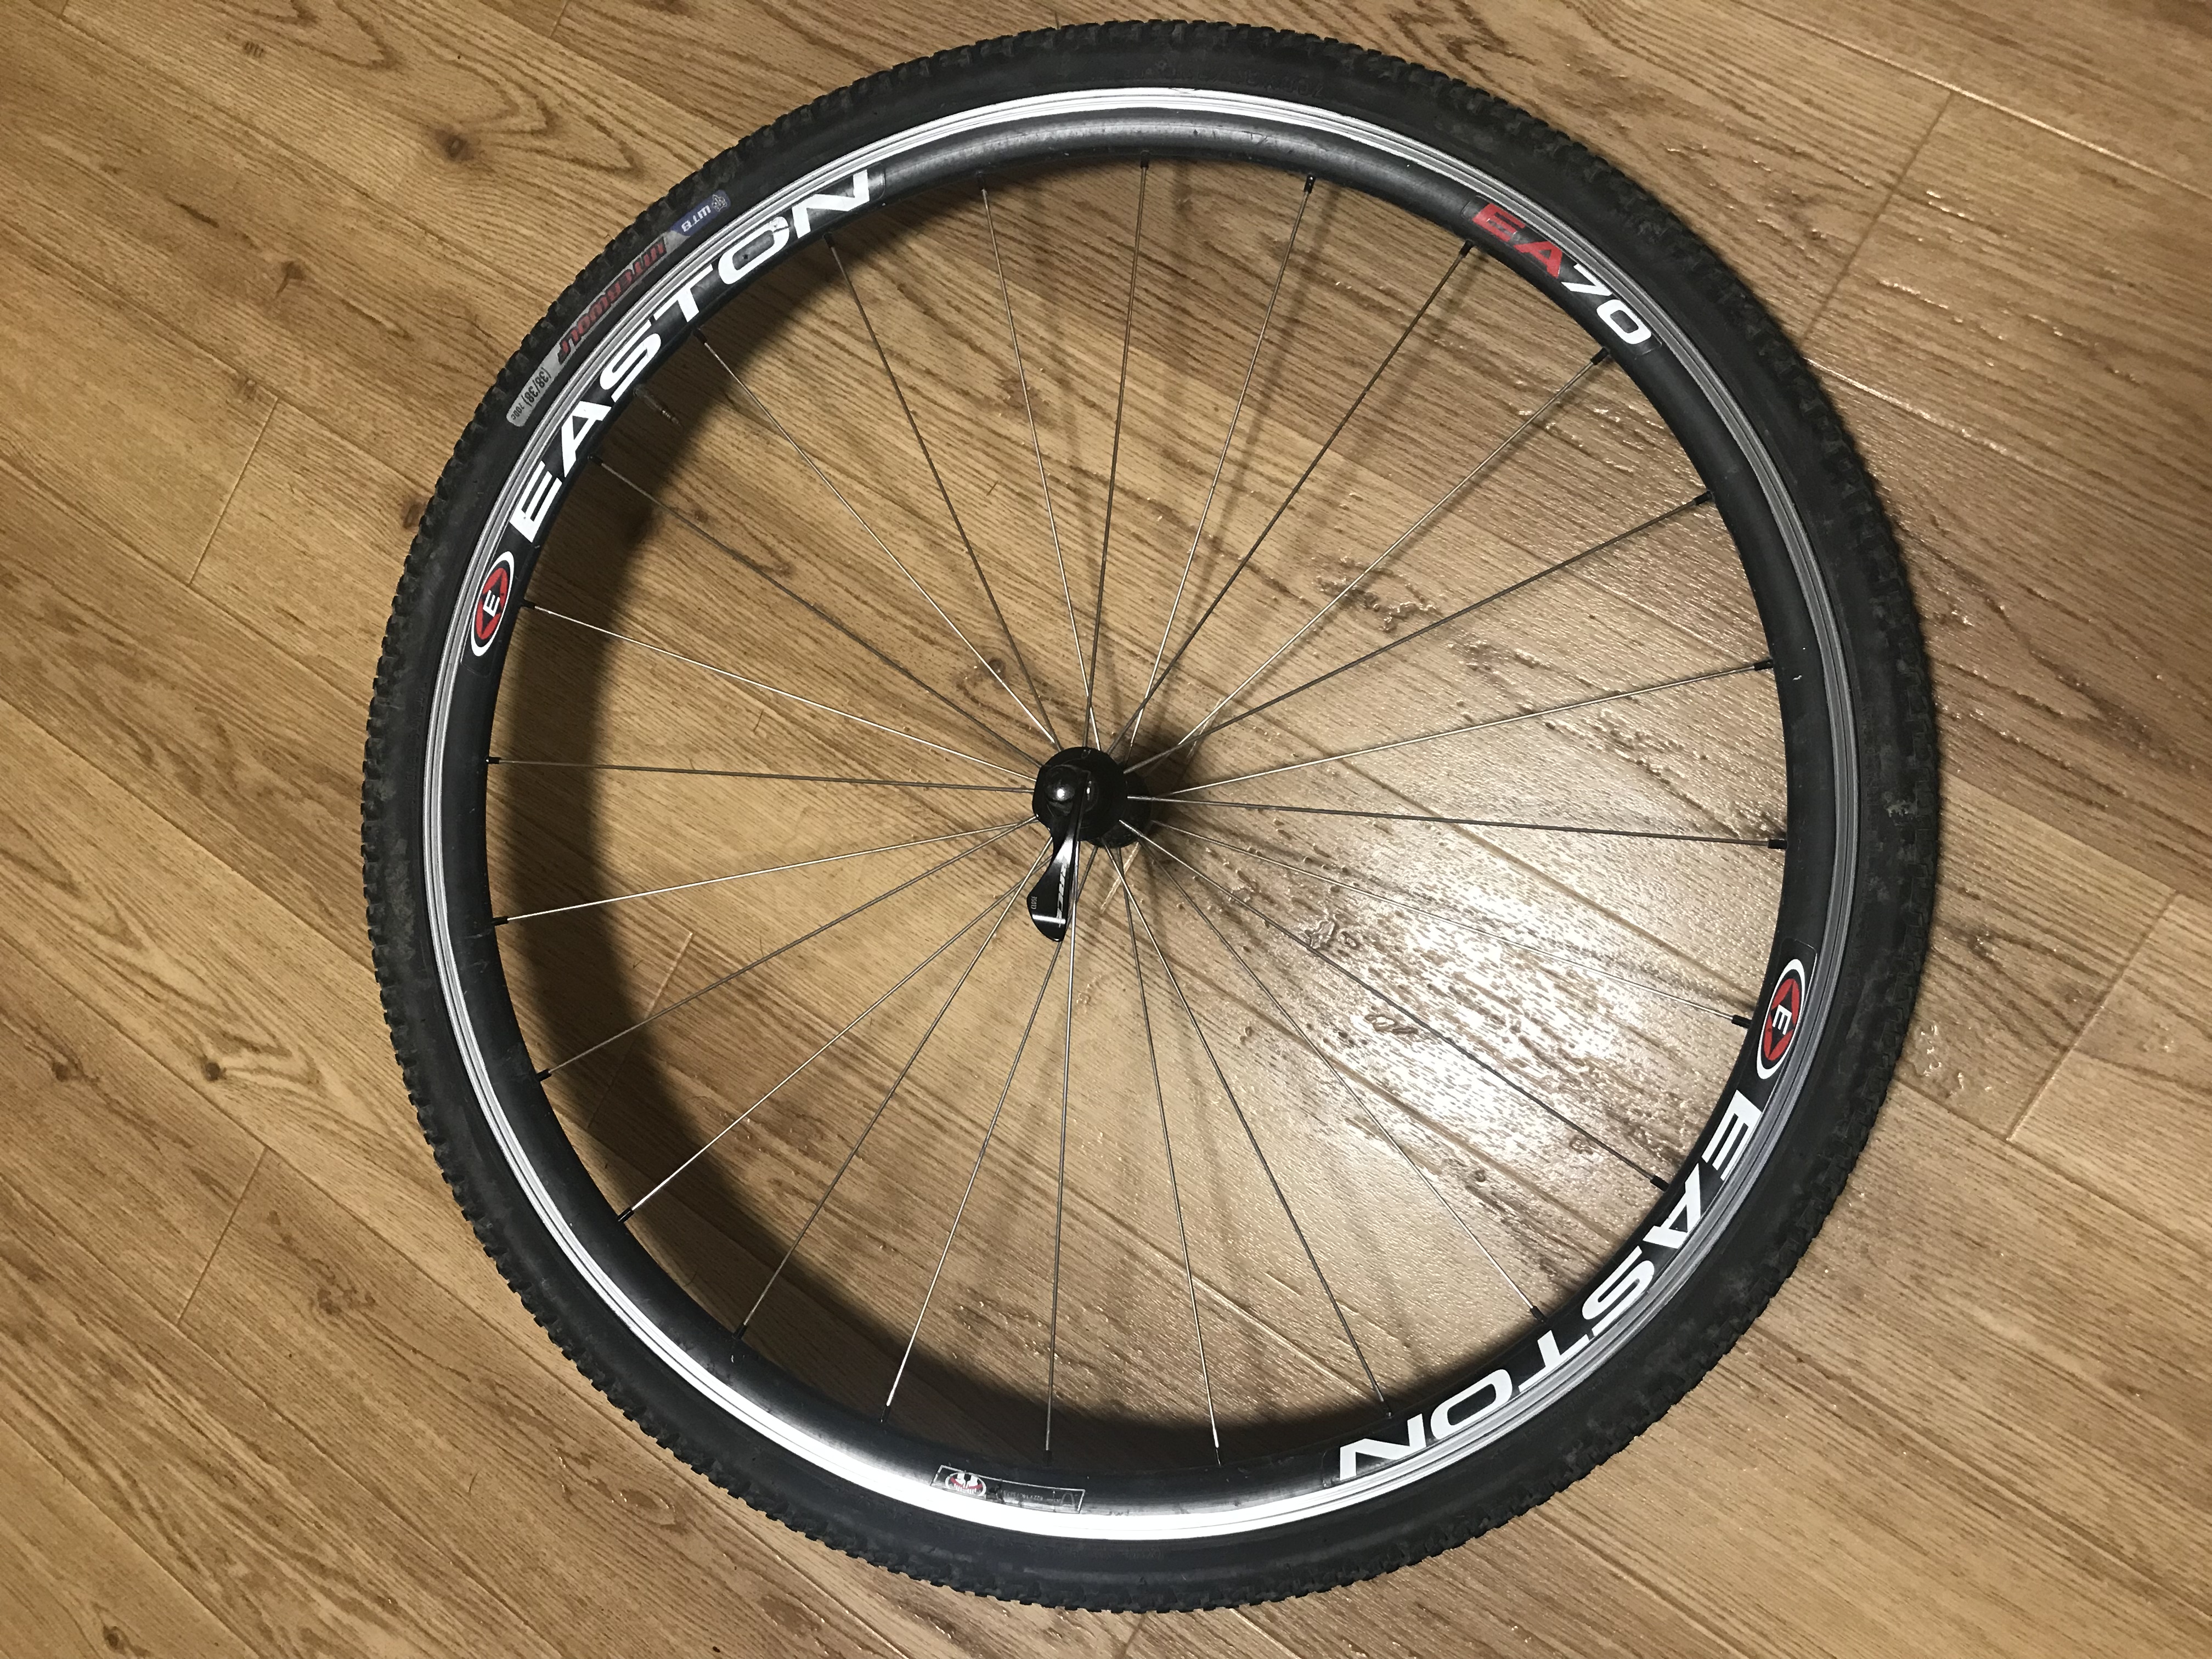
Before closing, here are a few pieces of advice I would give to avoid getting flats in the first place. Use a quality tire that is up to the riding you are planning. I have made this mistake and the right tire makes all the difference. It’s also worth noting that when a tire gets worn out its puncture resistance is greatly reduced. Cheap tubes can be the cause of flat tires when the valve stem becomes unbounded from the rubber so decent tubes are important. If your bike setup allows it, going tubeless with sealant can offer a more trouble free ride as well. Whatever you decide to use, get familiar with your bike and be prepared for any flats you may encounter.
The post Flat Fix Basics appeared first on Team Athletic Mentors.
 Athletic Mentors