By: Terry Ritter
In my almost 20 years of coaching I’ve had a few athletes that signed on to just do a short training plan for the Iceman. Many of these athletes were experiencing their first edition of this race, or one of their first few, and so I made sure I covered all the bases. This meant bike prep, maintenance, nutrition, and other points that could help improve their chances of success. For the ’19 season I have two athletes tying on an Iceman number plate for the first time, and I’m pulling out all my old information to help them prepare in hopes they enjoy this unique event. Here’s some of the important stuff if you need to quickly get things together to optimize your chances.
Proper Bike Set-Up
A number of aspects related to modern bicycle set up rely on volumes of air. Most fork designs that are in the mid-level and above price range have an air chamber for the supporting spring. Rear shocks are likely similar. And, of course, all bicycle tires will be relying on ambient gases as their means of pneumonic support. The tuning of these components depends on the pressure of the air inside, which is usually changed by a rider adding or releasing air. However, major temperature changes will change pressure as described by Charlie’s Law (chemistry alert!). A given pressure will lose about 1 psi for every 10 degree loss of temperature. This doesn’t seem like much, but if you inflate your tires to that perfect 24 psi in your hotel room, they could well be at 20 psi or less at the start of the race. Your fork and shock will be less stiff as well. Solve this problem by letting the bike sit out in the elements and then doing your air adjustments just before starting your warm up. Bonus Point: Don’t forget your shock pump!
Get the Nutrition and Hydration Right
For many racers that have been racing Sport or Beginner all season, the Iceman will be the longest event of the year. Even for a number of Expert level MTBers, if conditions are poor, they could be looking at the same situation. This year’s 30 mile course will add time to everyone as well. For most, what is needed hydration and nutrition wise is uncharted territory. My suggestion is to do a good breakfast a little earlier than normal, that has fewer carbohydrates and more fat and protein. This will allow you a steady energy source for longer. From there, 2 bottles should get most racers through 3 hours with the temps we are likely to race in, especially if you sip a different bottle during warm up (grab a fresh one before heading to the start line). Bring the energy packets of choice (gels, bars), and start supplementing around the 90 min mark. If a 3 hour or more event is expected, you should repeat this every 45 mins or so. A few important points are to never try something new the day of the race, drink early, and be sure to bring just a little extra for bars or gels. And, if it is going to be below freezing for most of the race, an insulated bottle could be a wise choice. Bonus Point: If you plan to eat a gel or bar during the race, don’t mix the energy drink as concentrated to prevent GI distress.
Iceman Maintenance
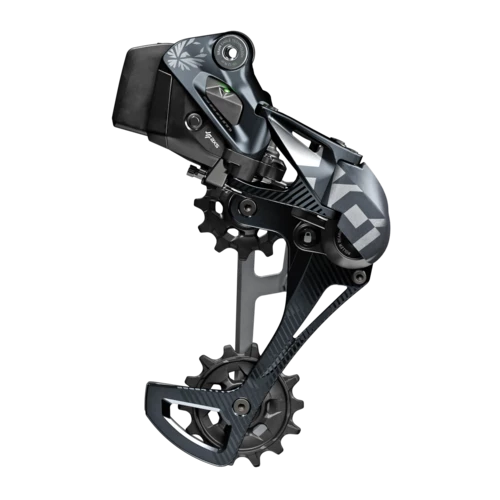
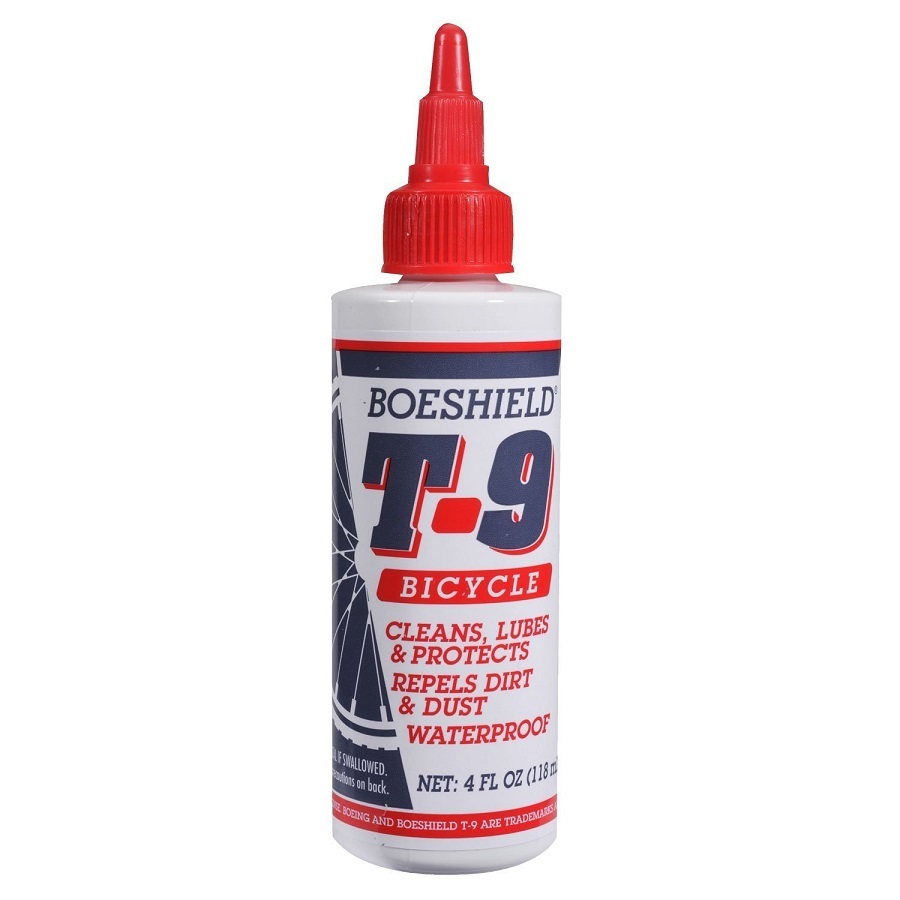
Nothing is more disappointing then to have your training, race strategy, and nutrition nailed for the big day, then have your bike let you down. Though this can happen no matter what, I have seen certain patterns after 20 plus events, many centered around drivetrain issues. The bike is running and shifting well during pleasant weather from a drivetrain that’s been on the bike all season. Then, race day comes and it’s muddy or sandy and wet. The chain and other parts get covered, and the bike starts skipping, shifting poorly, or chain sucking. Your chain could well be stretched and things aren’t mating well as the conditions turned. Or, you changed the chain after it had stretched a bit too far. Regardless, I have found a good way to avoid this is to either keep my chain changed earlier, or to swap out my big ring, chain, and cassette a few weeks before the Iceman (I usually get a year out of stuff), and so it’s fresh in case the conditions are bad, and that gives me a fresh drivetrain before the start of the next season. Another area of concern is getting an appropriate chain lube for conditions (so NOT using the drier, warmer weather wax based stuff you used all summer). People also will not lube their cables, or use a heavier lube/grease that’s fine in warmer weather, but gums up the cable, and so the shifting, when it gets at or below freezing. A thinner lube works well in both applications (I like wet lubes for chains and T-9 for cables this time of year). A few drops on the pedals won’t hurt, either. Don’t forget to put a little fresh sealant in your tires if that’s your set up. It might be a good idea to get your brake pad wear checked. You can burn through 3 months of dry riding in 30 miles of poor conditions. Bonus Point: Make sure you’re clutched derailleur is turned on if you run a 1x system.
Tool Bag
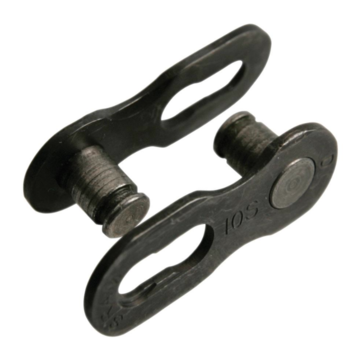
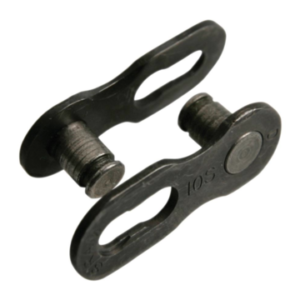
With the Iceman being a point-to-point race, self-support is a bit more important. Even if your result is going to be negatively impacted with a breakdown and you want to give up, it’s often difficult to get to a location that has people. Best to fix what you can and ride it home. Most common tool bag contents would fix most problems. These include a tube, CO2 inflators, tire levers if your tires need them, and a multi-tool. What will end a day poorly is if you can’t manage a broken chain. This is best done with a master link and chain tool in the bag. Bonus Point: Look through your bag to be sure it’s equipped with what you need… and make sure you know how to use everything.
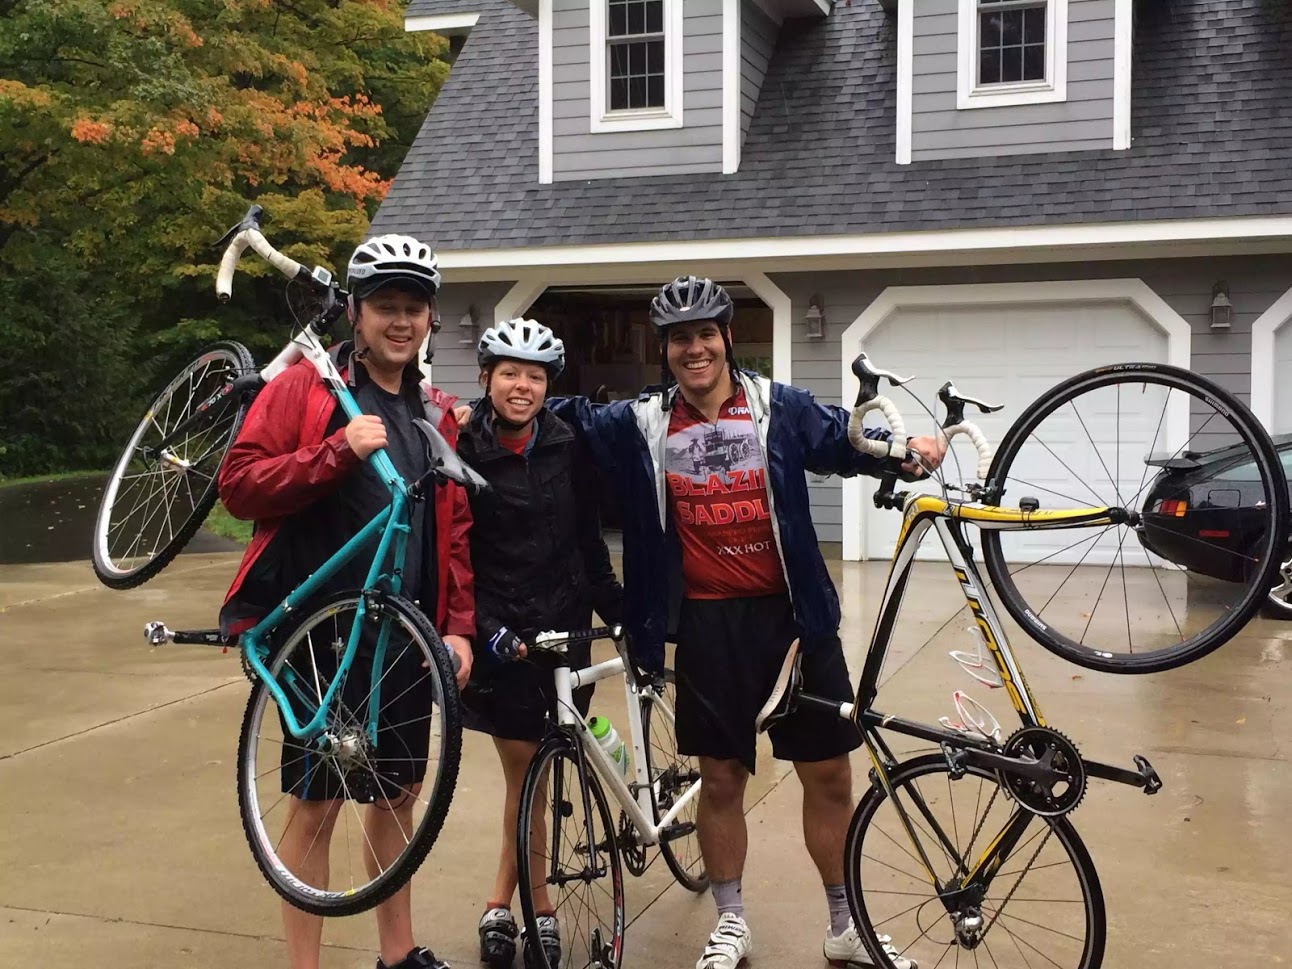
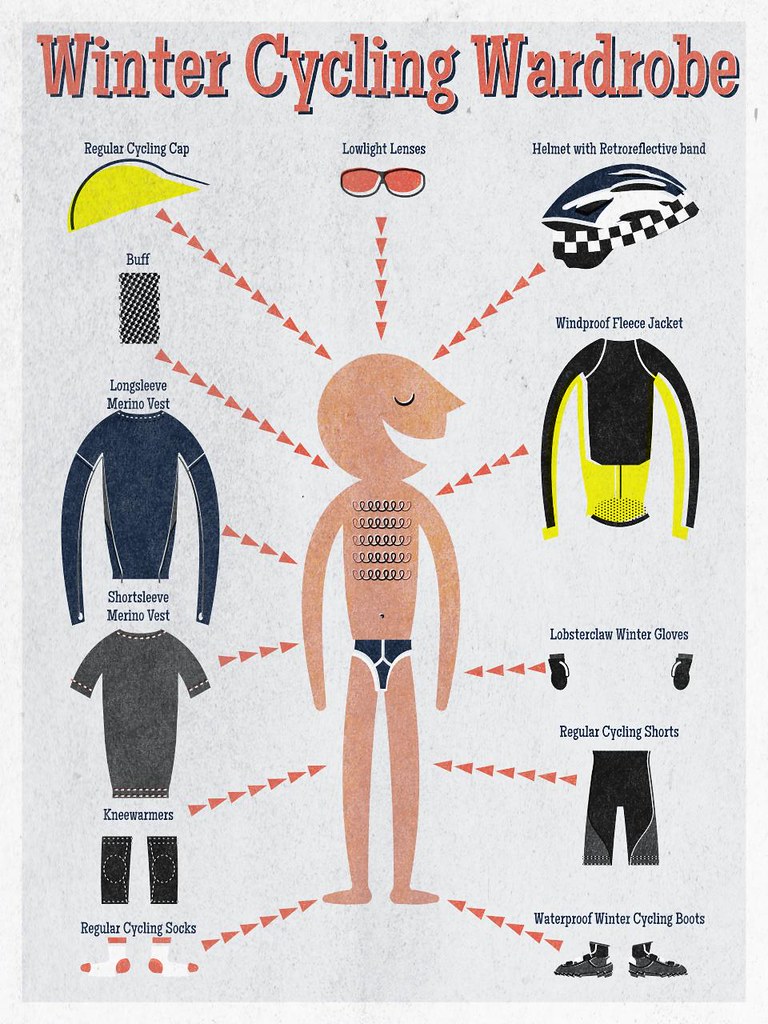
Dress for Success
A common picture from the Iceman is seeing the new riders hopelessly overdressed. This is totally understandable as it might well be chilly before the start, and we all get stuck standing around for a while. But, one must resist the temptation to pile on the outerwear in these situations. You should be a little chilly standing there, as you’ll start heating up once the racing is underway. One trick is to have someone that can take a coat while you are in the staging area. Another good idea is to have the ability to open zippers or remove layered clothing (thinking windproof vest and arm warmers here). Best to have had a chance to test out some of the clothing before you race. This is not always possible, especially with the nice fall we’ve had in Michigan. Regardless, give yourself time to take a few things off after warming up. Don’t forget to look at the forecast. If it’s looking like rain and you’re going to be out there a while, it might be a good idea to pack a jacket. Bonus Point: If you are using chemical warmers, many need some access to air to work.
Scout the Course and Plan Appropriately
This year’s edition had a lot of racers pre-riding the course weeks before. Most of this was likely due to pleasant fall weather we enjoyed. Another fact might well be all the changes incorporated into this season’s route. Regardless, it’s good to know what you’re in for on your way to Traverse City. But the most critical areas are the start and finish. The later can be tackled on the Friday pre-ride, as they will have a small loop set up that riders can do a few times. This is good to get a grasp of where you’ll need to get ahead of riders that you might be racing to the line. For the start, knowing how the course will potentially bottle neck can help determine where a little more effort should be used. New this year is the start from the airport. This will meander around for a significant bit before crossing the paved two lane and heading down a dirt road. This road was in the early editions of the Iceman, and was always a cluster due to large deposits of sand. If you have a chance, be near the front of your class when this area comes up. The later waves will struggle to check it out before the race as there will be waves and waves of riders. But, any knowledge ahead of time could prevent a catastrophe. Bonus Point: You can’t win the race at the start, but you can certainly lose it.
Resting and Race Day Warm Up
There are two major things that can impact a race negatively, but are common mistakes. The first I have seen over the years is people riding too much leading up to the Iceman. They want to get as much riding in, either due to a late start to event training , or just not understanding the power of rest. They will post hard or long riding hours the week preceding, then rest a day or two with little to no training. Unfortunately, anything we physically do to improve conditioning won’t materialize for 7-10 days at the minimum. For this reason, your hard training should end earlier and you should taper into the race. This means reducing your efforts about 30% each of the two weeks leading up to the first weekend in November. However, if you haven’t done that to this point, understand you can’t carry fatigue into the race and perform your best. With less than one week left, get some shorter, intense rides in and rest a lot more. Don’t be completely off the bike, but make sure you have good legs the day we pin the numbers on. Also, I see people afraid to get out in the cold the morning of Iceman, and so they stick around in their vehicles and fall behind, rushing to get a warm up in and get to their wave early enough to position well. When the gun goes off you want to be the best you can be, rested, warmed up, and ready to go. Bonus Point: It’s a common practice to take two days before the race completely off, then do a short ride on Friday that has a few hard, short efforts.
With days before the big race, some of this advice might be too late. But, even if one little parcel of knowledge helps your event go better it will be well worth the read. And, you’ll be all the more prepared for your next Iceman Cometh!
The post Wait… The Iceman is When?! appeared first on Team Athletic Mentors.


 Our Hockey Site
 Team AM


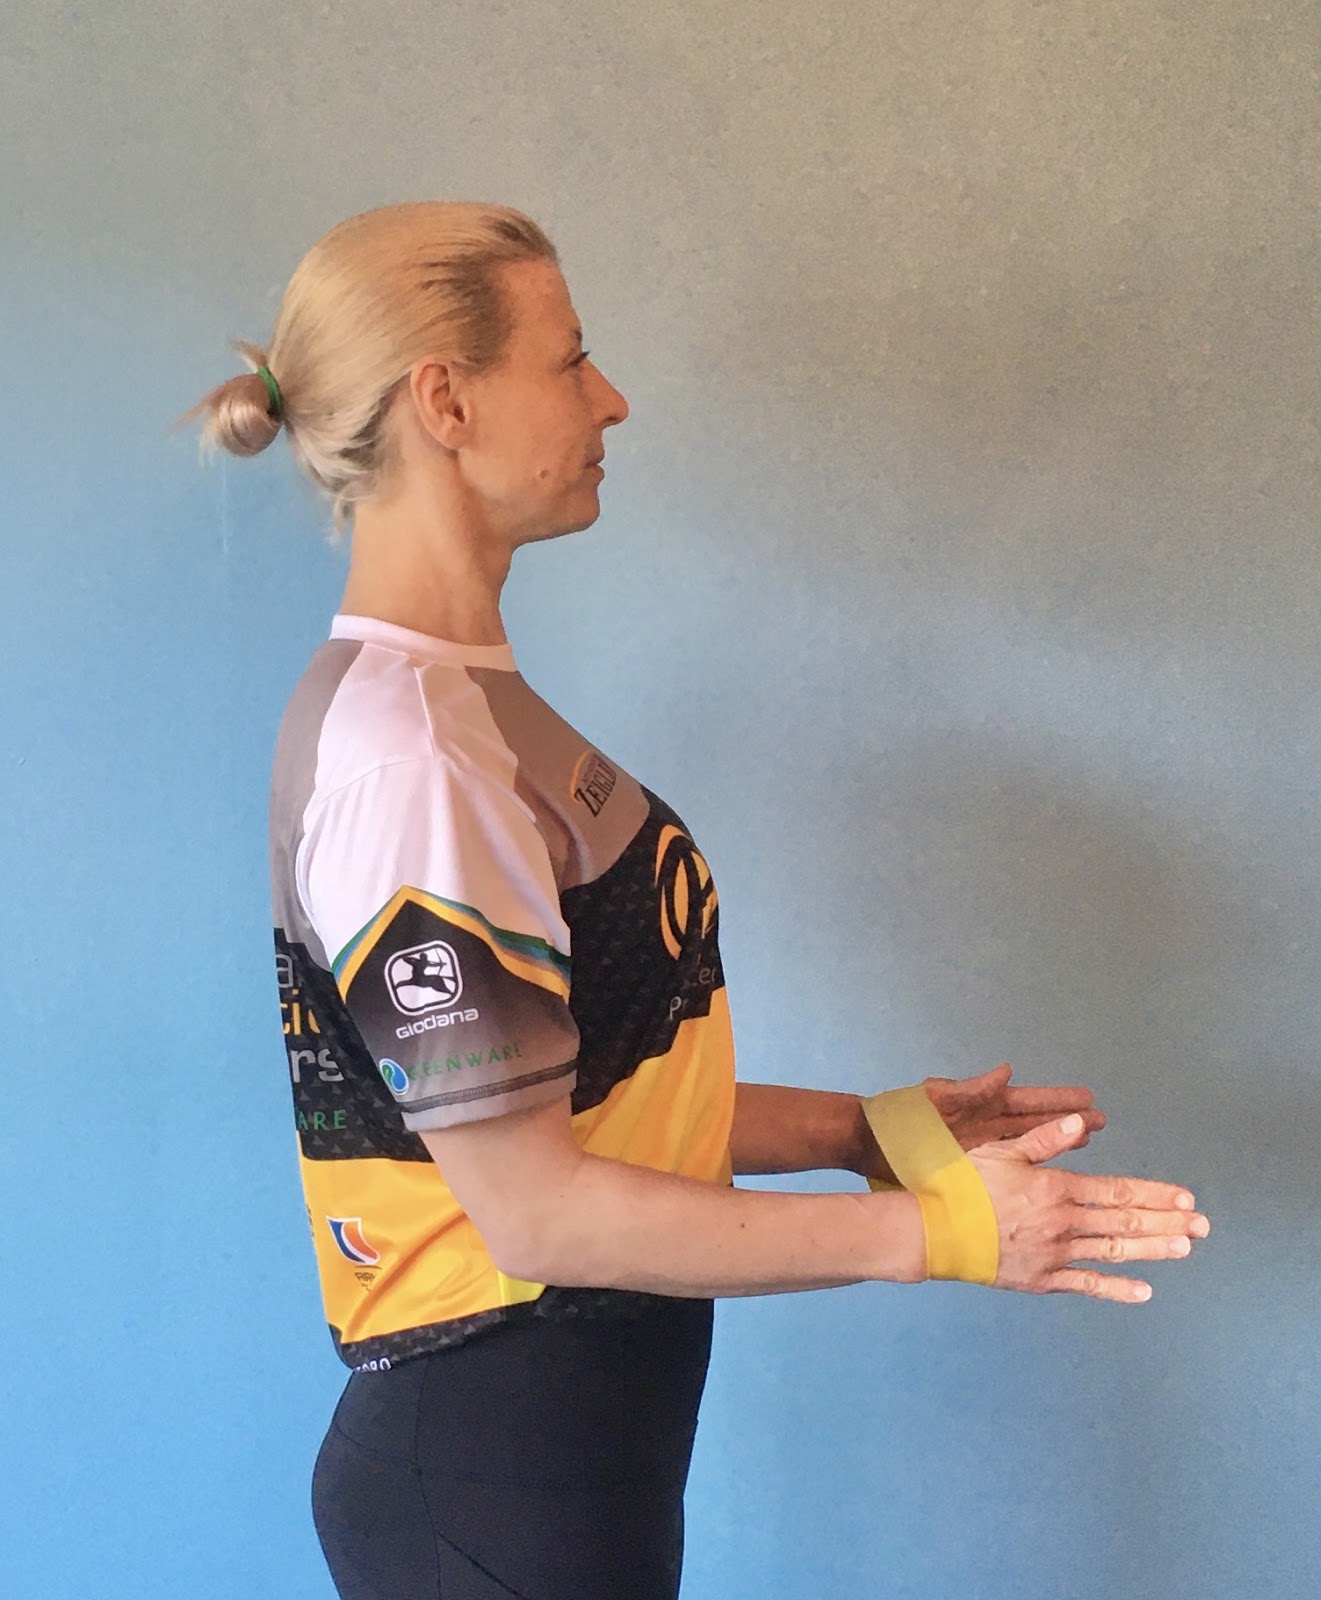
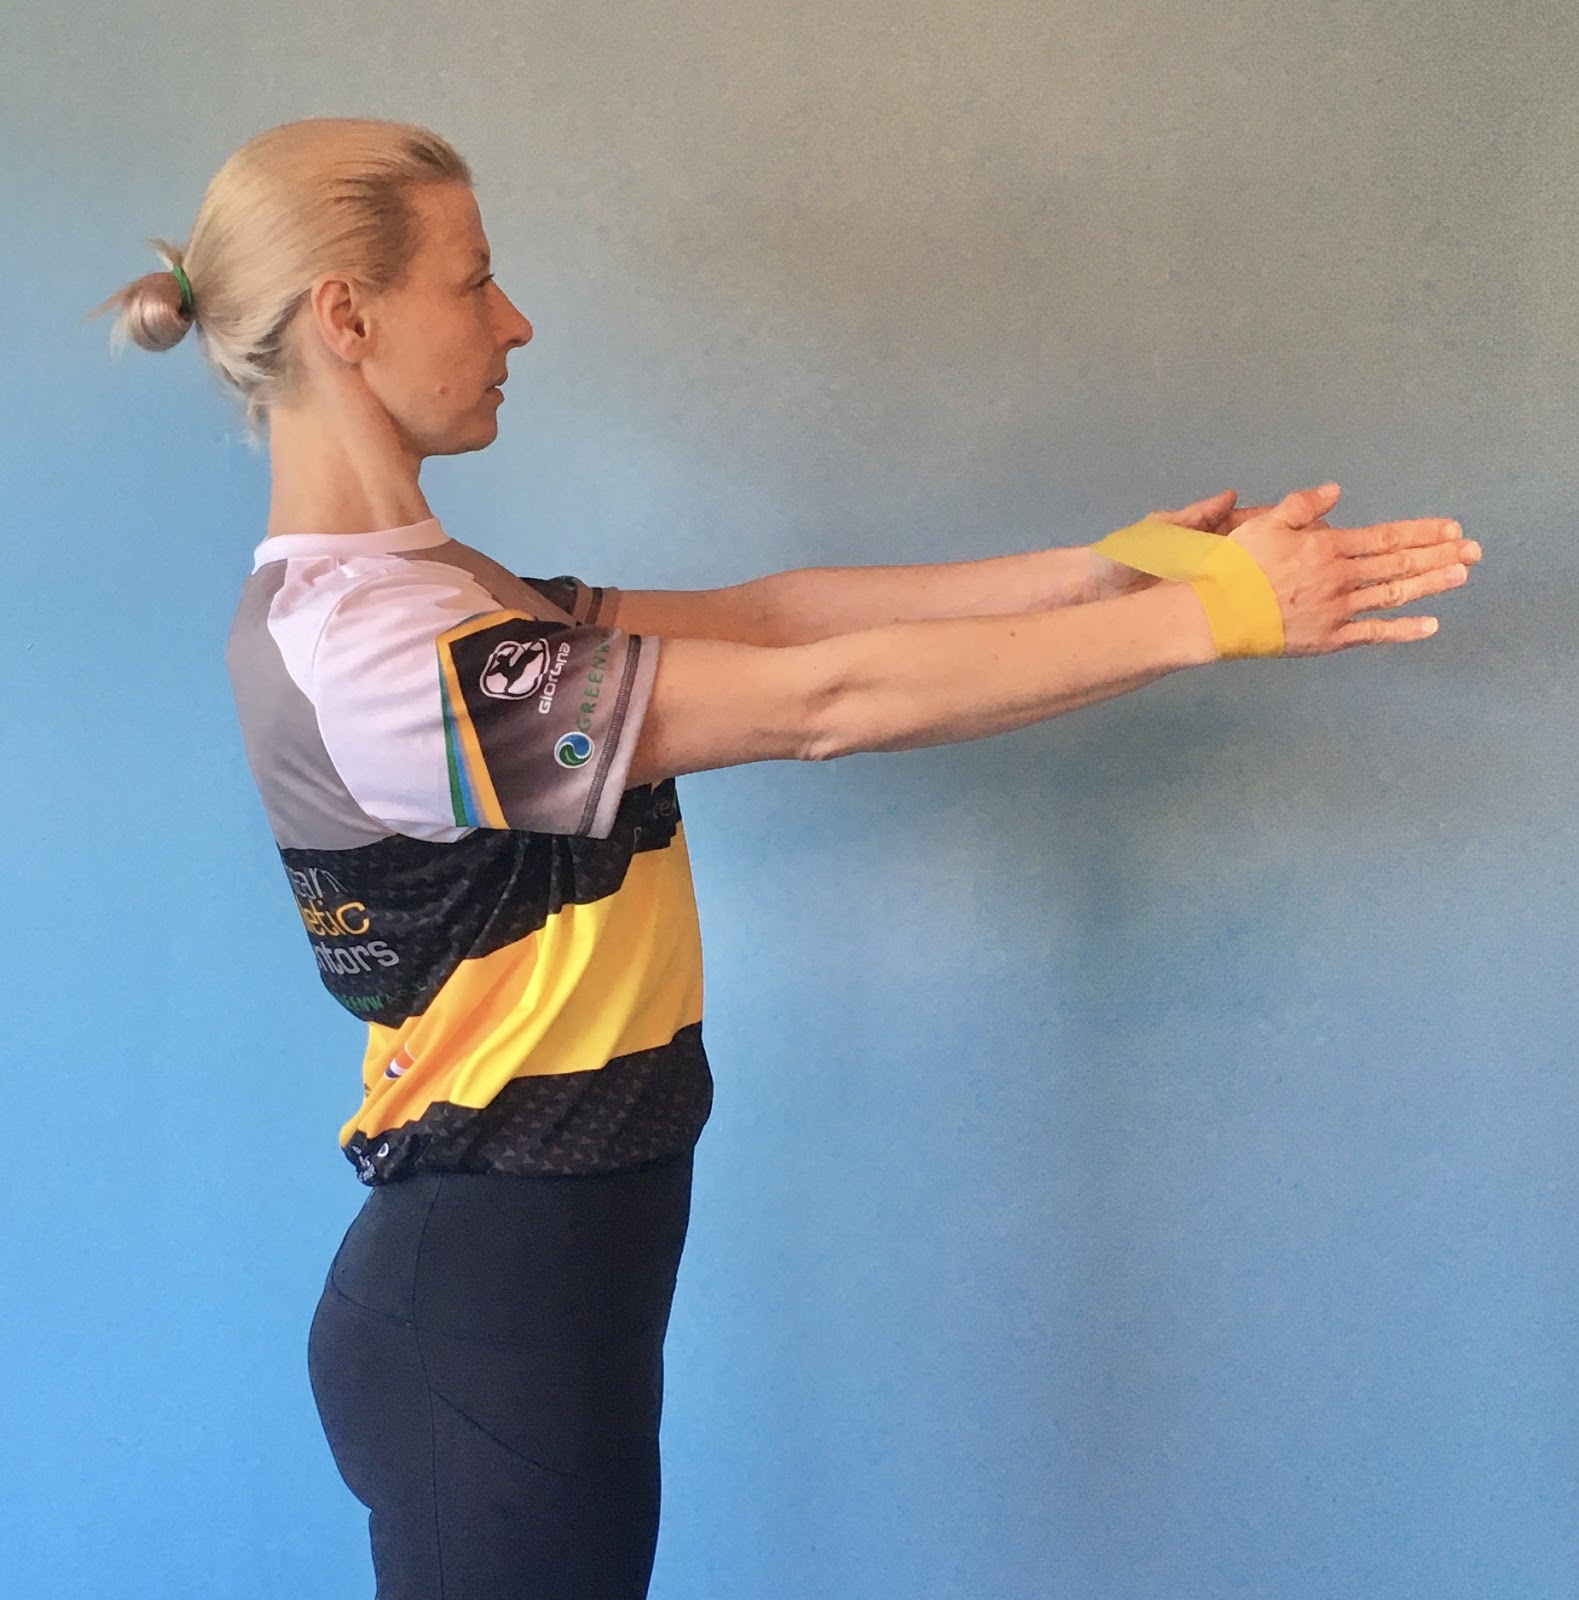
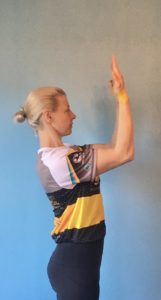 Position 4: Arms straight directly overhead.
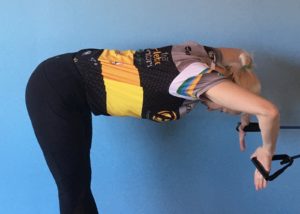
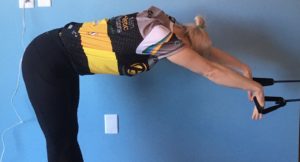
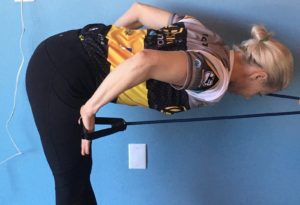
 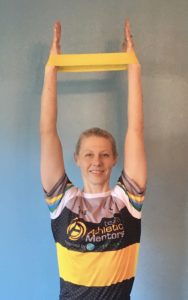 Swim Sets: Attach your tubular band with handles around a solid object; I use the leg of my treadmill. A door handle will also work; just make sure the band can’t slip off. You don’t want it hitting you.Catch: Bend over with a flat back hold your arms straight along your head as though they have just entered the water; hands holding on the handles. Have both arms simultaneously perform the “catch” of the swim. Pull your fingertips towards the floor while maintaining a high elbow. Return to start and repeat.